Work in progress
The content of this page was not yet updated for Godot
4.2
and may be outdated. If you know how to improve this page or you can confirm
that it's up to date, feel free to open a pull request.
プレイヤーシーンと入力アクション
次の2つのレッスンでは、プレイヤーのシーンをデザインし、カスタム入力アクションを登録し、プレイヤーの動きをコーディングします。最後には、8方向に動くプレイ可能なキャラクターが完成します。
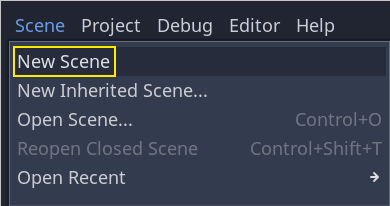
Create a new scene by going to the Scene menu in the top-left and clicking New Scene.
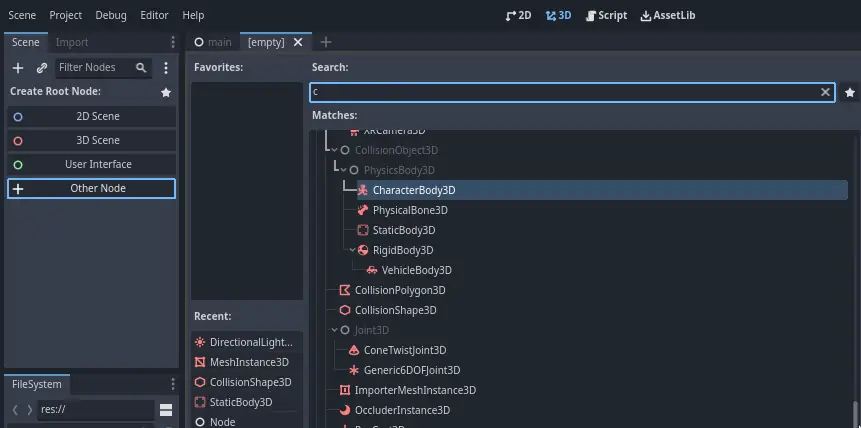
Create a CharacterBody3D node as the root
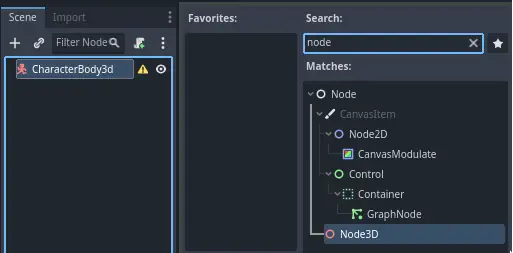
Name the CharacterBody3D to Player.
Character bodies are complementary to the area and rigid bodies used in the 2D
game tutorial. Like rigid bodies, they can move and collide with the
environment, but instead of being controlled by the physics engine, you dictate
their movement. You will see how we use the node's unique features when we code
the jump and squash mechanics.
参考
さまざまな物理ノードの種類についての詳細は、 物理の紹介 を参照してください。
とりあえず、キャラクタの3D モデルに対して基本的なリグを作成します。これによって、後でアニメーションを再生しながら、コードを使用してモデルを回転させることができます。
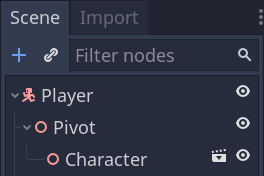
Add a Node3D node as a child of Player and name it Pivot
Then, in the FileSystem dock, expand the art/ folder
by double-clicking it and drag and
drop player.glb onto Pivot.
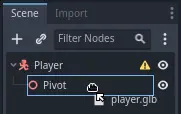
This should instantiate the model as a child of Pivot.
You can rename it to Character.
注釈
The .glb files contain 3D scene data based on the open source GLTF 2.0
specification. They're a modern and powerful alternative to a proprietary format
like FBX, which Godot also supports. To produce these files, we designed the
model in Blender 3D and exported it to GLTF.
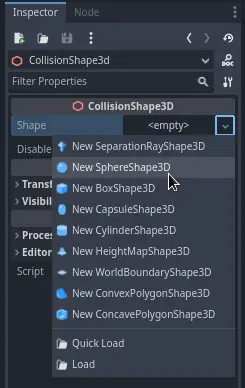
As with all kinds of physics nodes, we need a collision shape for our character
to collide with the environment. Select the Player node again and add a child node
CollisionShape3D. In the Inspector, on the Shape property, add a new SphereShape3D.
The sphere's wireframe appears below the character.
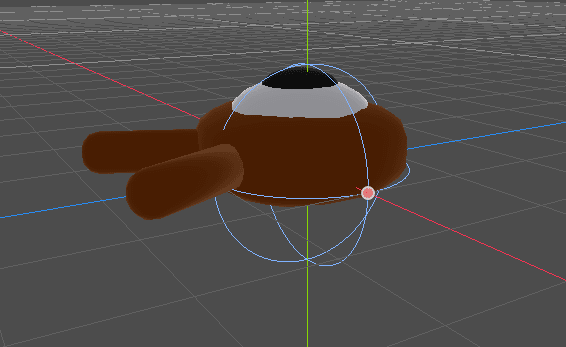
これは、物理エンジンが環境と衝突するときに使用する形状になります。なので、3D モデルにうまくフィットするようにします。ビューポートでオレンジ色のドットをドラッグして、少し縮小してください。私の球体の半径は、0.8メートルほどです。
次に、この形状を上に移動して、その底がグリッドの平面とほぼ一致するようにします。

You can toggle the model's visibility by clicking the eye icon next to the
Character or the Pivot nodes.
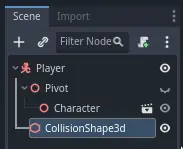
Save the scene as player.tscn
ノードの準備ができたので、ほとんどコーディングできるようになりました。しかしその前に、いくつかの入力アクションを定義する必要があります。
入力アクションの作成
キャラクターを動かすために、矢印キーを押した、などのようなプレイヤーの入力操作を認識する必要があります。Godotでは、全てのキーバインドをコードで書くこともできますが、キーやボタンのセットに操作のラベルを割り当てられる便利な機能があります。この機能により、スクリプトをよりシンプルで読みやすくすることができます。
This system is the Input Map. To access its editor, head to the Project menu and select Project Settings.

上部に、複数のタブがあります。インプットマップ(Input Map)をクリックします。このウィンドウでは、上部で新しいアクションを追加することができます。それらはあなたのラベルです。下部では、これらのアクションにキーをバインドすることができます。
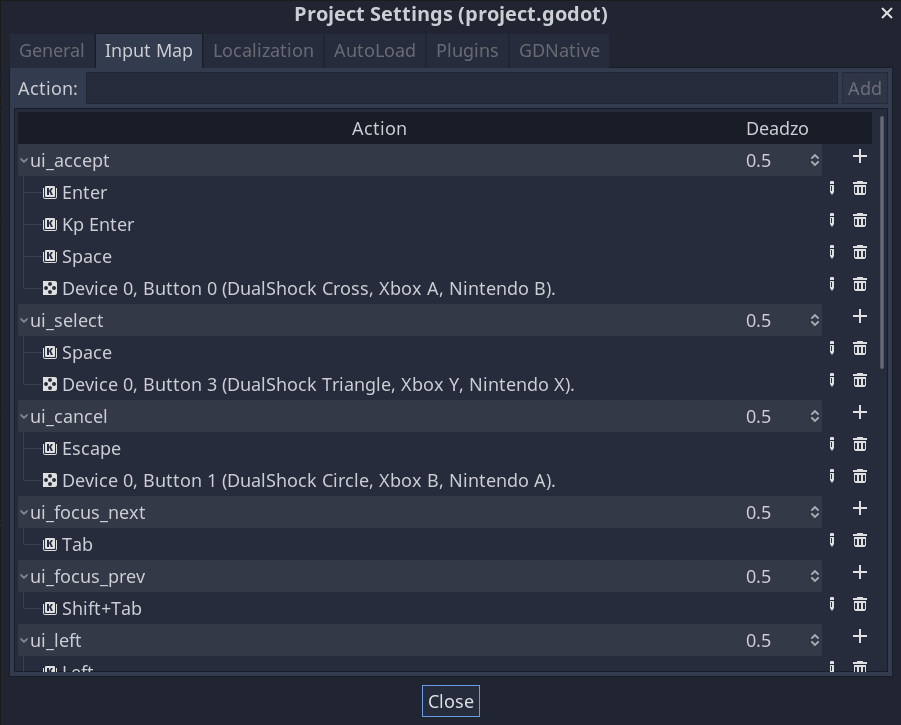
Godotプロジェクトは、ユーザーインターフェイス設計のために設計された定義済みのアクションがいくつか用意されており、ここでそれを使うこともできます。しかし、ゲームパッドをサポートするために、私たちは独自のアクションを定義しています。
私たちはアクションに、move_left、move_right、move_forward、move_back、 そして jumpという名前をつけたいと思います。
アクションを追加するには、上部のバーに名前を記入して、Enterキーを押します。

Create the following five actions:

To bind a key or button to an action, click the "+" button to its right. Do this
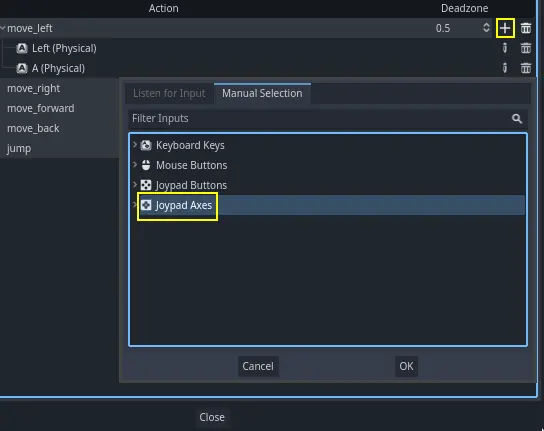
for move_left. Press the left arrow key and click OK.

Bind also the A key, onto the action move_left.

Let's now add support for a gamepad's left joystick. Click the "+" button again but this time, select Manual Selection -> Joypad Axes.
Select the negative X axis of the left joystick.
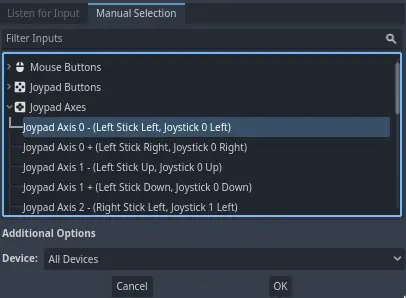
Leave the other values as default and press OK
注釈
If you want controllers to have different input actions, you should use the Devices option in Additional Options. Device 0 corresponds to the first plugged gamepad, Device 1 corresponds to the second plugged gamepad, and so on.
Do the same for the other input actions. For example, bind the right arrow, D,
and the left joystick's positive axis to move_right. After binding all keys,
your interface should look like this.
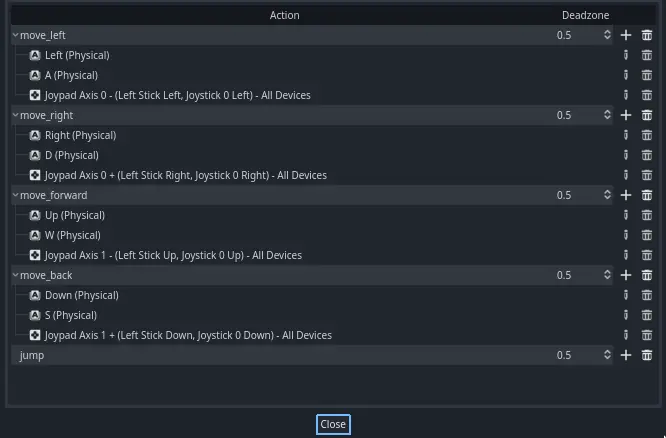
The final action to set up is the jump action. Bind the Space key and the gamepad's
A button.
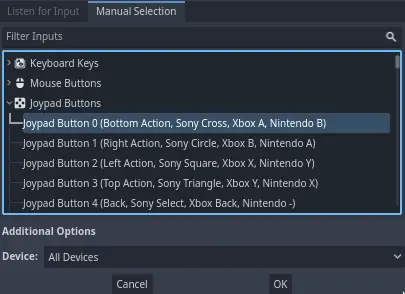
ジャンプ入力のアクションはこのようになるはずです。

これで、このゲームに必要なアクションが用意できました。このメニューを使って、プロジェクト内のキーやボタンのグループにラベルを付けることができます。
次のパートでは、プレーヤーの動きをコーディングしてテストしていきます。