Work in progress
The content of this page was not yet updated for Godot
4.2
and may be outdated. If you know how to improve this page or you can confirm
that it's up to date, feel free to open a pull request.
ゲームエリアの設定
この最初のパートでは、ゲームエリアを設定します。さっそく、スタートアセットをインポートして、ゲームシーンを設定しましょう。
このチュートリアルで使用する 3D モデルとサウンドを含む Godot プロジェクトを用意しました。まだの方は Squash the Creeps assets からアーカイブをダウンロードしてください。
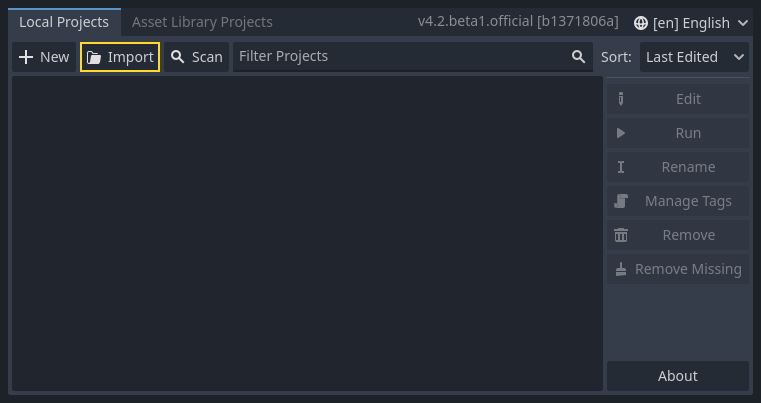
ダウンロードしたら、.zip アーカイブをコンピュータで解凍します。Godotプロジェクトマネージャーを開き、 インポート ボタンをクリックします。
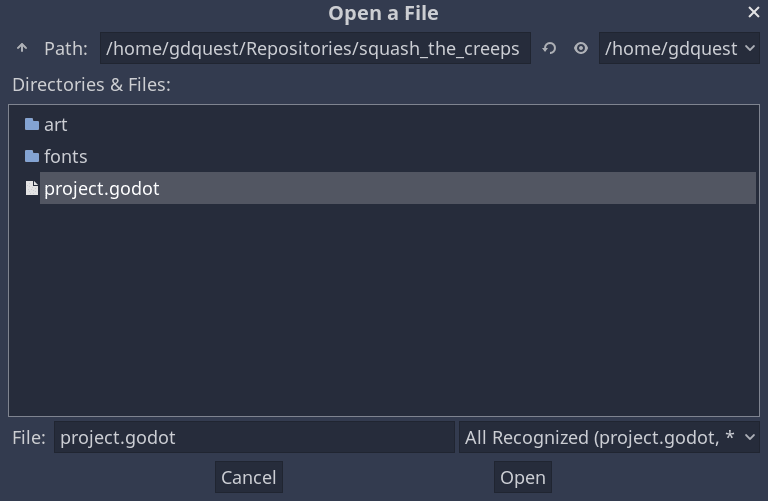
インポートポップアップで、作成したばかりのディレクトリsquash_the_creeps_start/へのフルパスを入力します。右側の 参照(Browse)ボタンをクリックしてファイル ブラウザを開き、フォルダに含まれるproject.godotファイルに移動することも可能です。
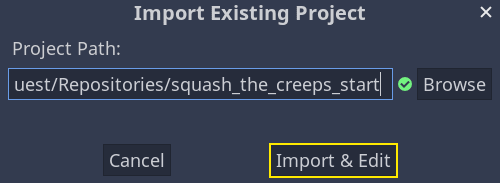
インポートして編集(Install & Edit)をクリックすると、エディタのプロジェクトが開きます。
スタート プロジェクトには、アイコンと 2 つのフォルダーart/とfonts/があります。そこには、ゲーム内で使用するアートアセットと音楽があります。
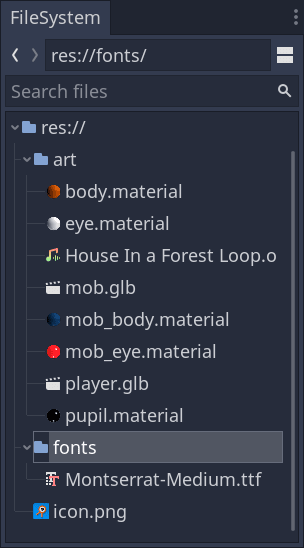
player.glbとmob.glbという二つの3Dモデルとこれらのモデルに属するいくつかの素材、そして音楽トラックです。
プレイ可能エリアの設定
We're going to create our main scene with a plain Node as its root. In the
Scene dock, click the Add Child Node button represented by a "+" icon in the
top-left and double-click on Node. Name the node Main. An alternate method to rename the node is to right-click on Node and choose Rename (or F2). Alternatively, to add
a node to the scene, you can press Ctrl + a (or Cmd + a on macOS).
Save the scene as main.tscn by pressing Ctrl + s (Cmd + s on macOS).
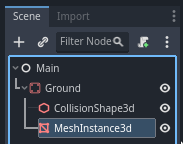
We'll start by adding a floor that'll prevent the characters from falling. To
create static colliders like the floor, walls, or ceilings, you can use StaticBody3D nodes. They require CollisionShape3D child nodes to
define the collision area. With the Main node selected, add a StaticBody3D
node, then a CollisionShape3D. Rename the StaticBody3D to Ground.

Your scene tree should look like this
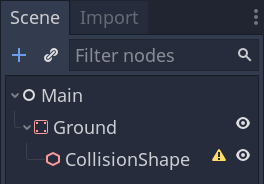
A warning sign next to the CollisionShape3D appears because we haven't defined its shape. If you click the icon, a popup appears to give you more information.

To create a shape, select the CollisionShape3D node, head to the Inspector and click the <empty> field next to the Shape property. Create a new BoxShape3D.
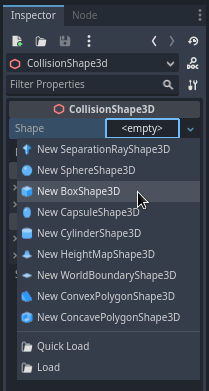
ボックスの形状は、平らな地面や壁に最適です。その厚さによって、動きの速い物体でも確実にブロックできます。
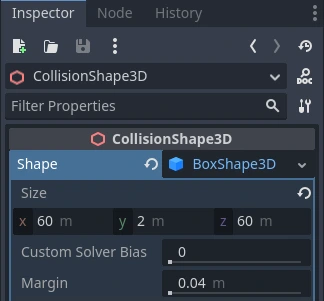
A box's wireframe appears in the viewport with three orange dots. You can click
and drag these to edit the shape's extents interactively. We can also precisely
set the size in the inspector. Click on the BoxShape3D to expand the resource.
Set its Size to 60 on the X axis, 2 for the Y axis, and 60 for
the Z axis.
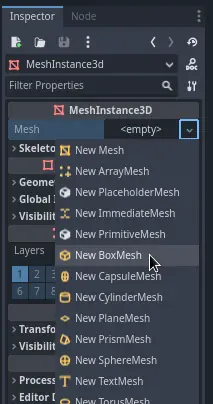
Collision shapes are invisible. We need to add a visual floor that goes along
with it. Select the Ground node and add a MeshInstance3D as its child.
In the Inspector, click on the field next to Mesh and create a BoxMesh resource to create a visible box.
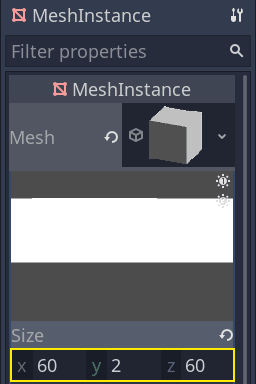
Once again, it's too small by default. Click the box icon to expand the
resource and set its Size to 60, 2, and 60.
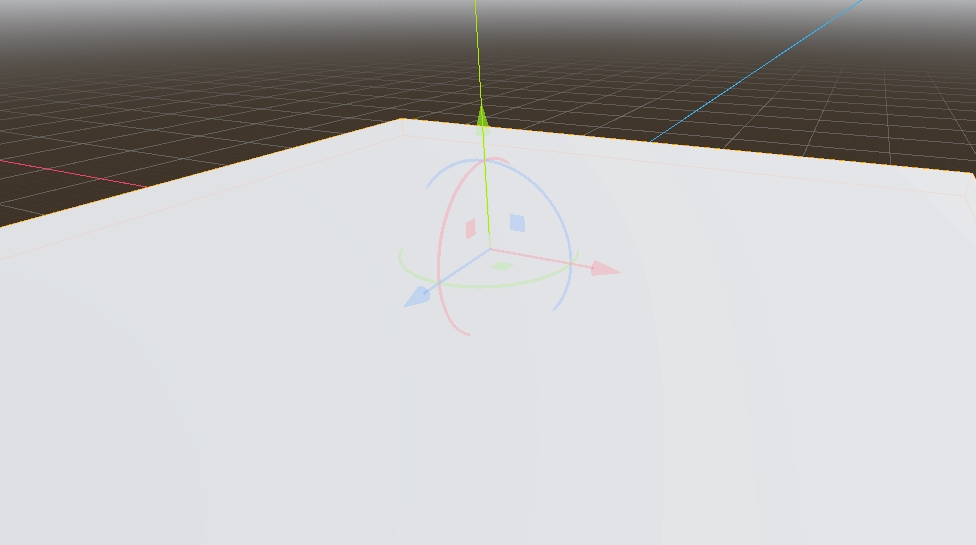
ビューポートにグリッドを覆う広い灰色の壁と、青と赤の軸が表示されるはずです。
We're going to move the ground down so we can see the floor grid. Select the
Ground node, hold the Ctrl key down to turn on grid snapping,
and click and drag down on the Y axis. It's the green arrow in the move gizmo.
注釈
上の画像のように 3D オブジェクト マニピュレーターが表示されない場合は、ビューの上のツールバーで 選択モード(Select Mode) がアクティブになっていることを確認してください。
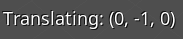
Move the ground down 1 meter, in order to have a visible editor grid. A label in the bottom-left corner of the
viewport tells you how much you're translating the node.
注釈
Moving the Ground node down moves both children along with it. Ensure you move the Ground node, not the MeshInstance3D or the CollisionShape3D.
Ultimately, Ground's transform.position.y should be -1
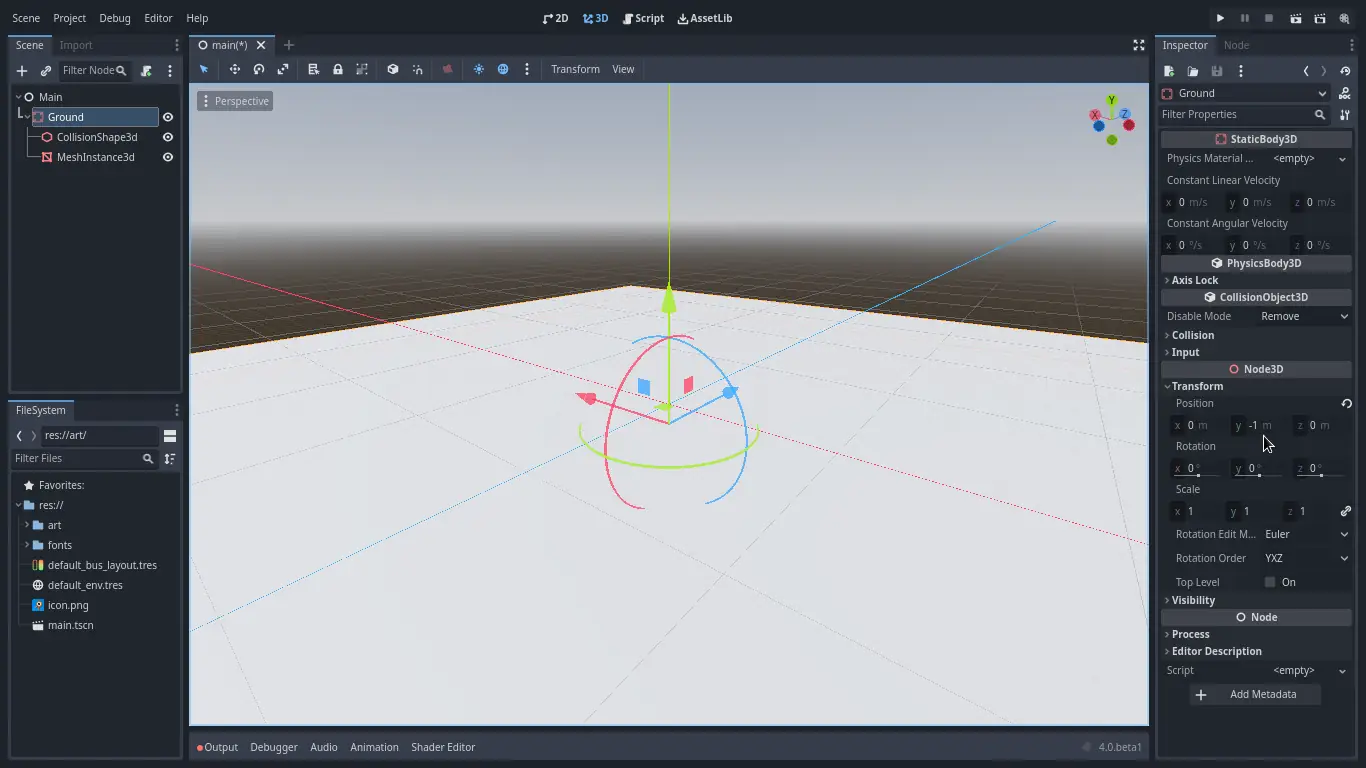
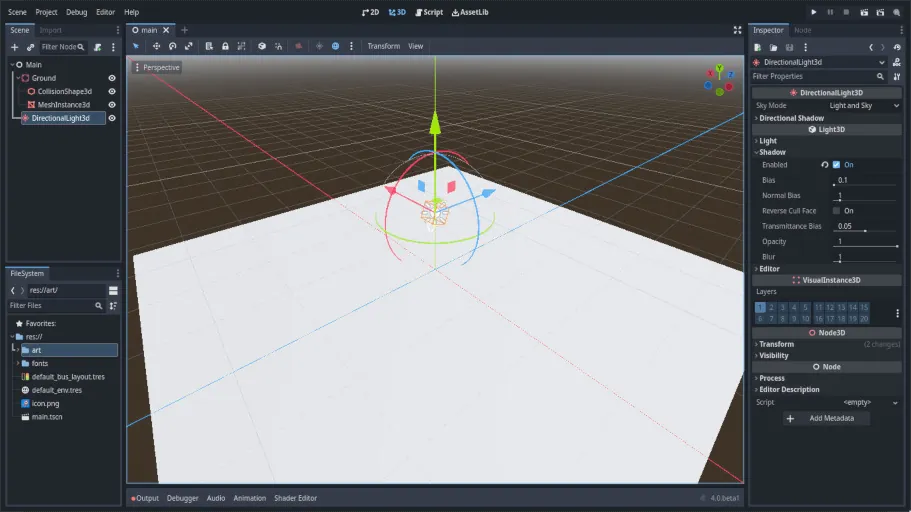
Let's add a directional light so our scene isn't all grey. Select the Main
node and add a child node DirectionalLight3D.
We need to move and rotate the DirectionalLight3D node. Move it up by clicking and dragging on the manipulator's green arrow and click and drag on the red arc to rotate it around the X axis, until the ground is lit.
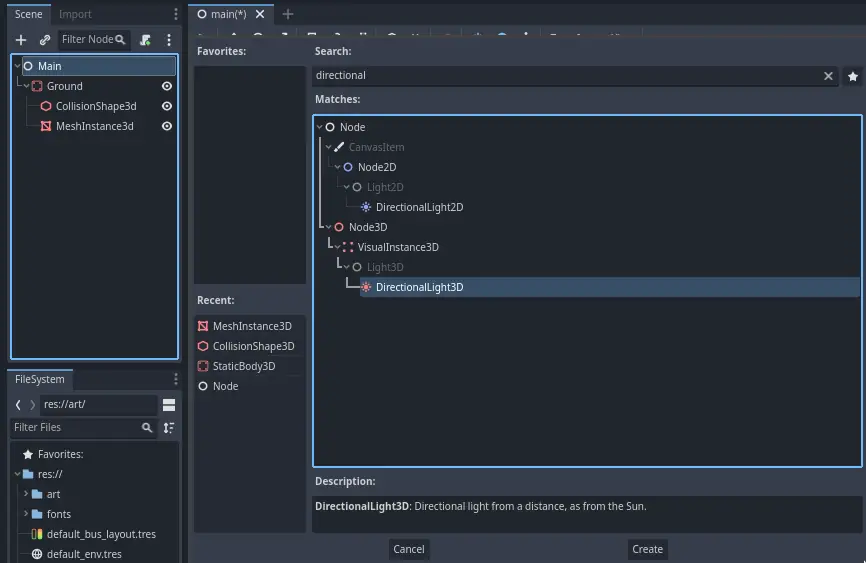
インスペクター(Inspector)で、Shadow -> Enabledにチェックを入れて、オンにします。
ここまでで、プロジェクトは次のようになっているはずです。
これが出発点になります。次のパートでは、プレイヤーのシーンとベースの動きを作ります。