Customizing the mouse cursor
全体的なデザインに合うように、ゲームのマウスカーソルの外観を変更することができます。マウスカーソルをカスタマイズするには2つの方法があります:
プロジェクト設定を使用する
スクリプトを使用する
プロジェクト設定の使用は、マウスカーソルをカスタマイズするためのより簡単な(ただしより制限された)方法です。 2番目の方法はよりカスタマイズ可能ですが、スクリプトを使用します。
注釈
You could display a "software" mouse cursor by hiding the mouse cursor and
moving a Sprite to the cursor position in a _process method, but this
will add at least one frame of latency compared to an "hardware" mouse
cursor. Therefore, it's recommended to use the approach described here
whenever possible.
If you have to use the "software" approach, consider adding an extrapolation step to better display the actual mouse input.
プロジェクト設定を使用する
プロジェクト設定を開き、[Display] -> [Mouse Cursor]に移動します。"Custom Image" と "Custom Image Hotspot" が表示されます。
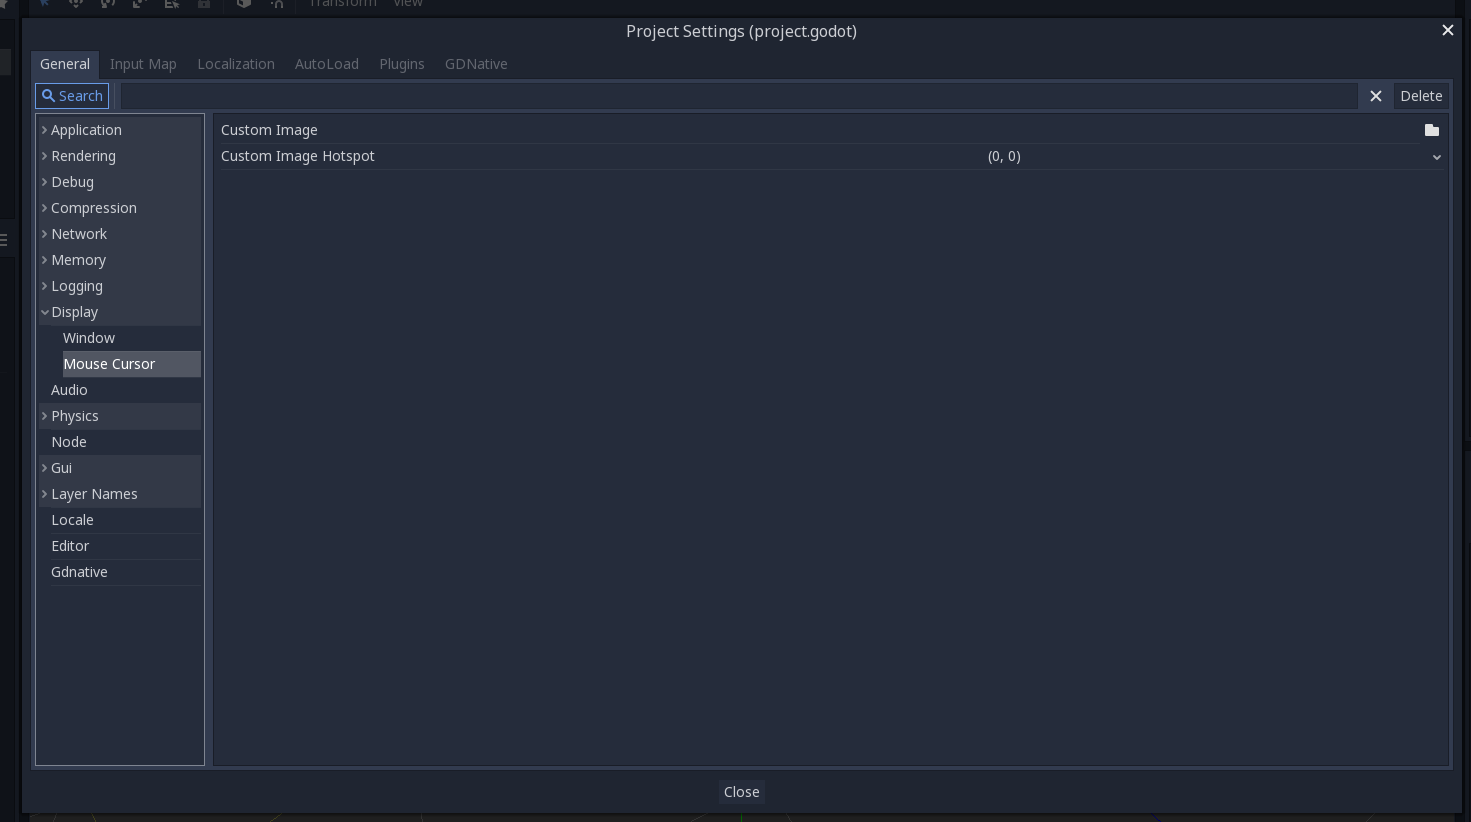
カスタムイメージ(Custom Image)は、マウスカーソルとして設定する目的のイメージです。カスタムホットスポット(Custom Hotspot)は、カーソルの検出ポイントとして使用する画像内のポイントです。
注釈
カスタムイメージは256x256未満である必要があります。
スクリプトを使用する
ノードを作成し、次のスクリプトをアタッチします。
extends Node


# Load the custom images for the mouse cursor.
var arrow = load("res://arrow.png")
var beam = load("res://beam.png")


func _ready():
    # Changes only the arrow shape of the cursor.
    # This is similar to changing it in the project settings.
    Input.set_custom_mouse_cursor(arrow)

    # Changes a specific shape of the cursor (here, the I-beam shape).
    Input.set_custom_mouse_cursor(beam, Input.CURSOR_IBEAM)
public override void _Ready()
{
    // Load the custom images for the mouse cursor.
    var arrow = ResourceLoader.Load("res://arrow.png");
    var beam = ResourceLoader.Load("res://beam.png");

    // Changes only the arrow shape of the cursor.
    // This is similar to changing it in the project settings.
    Input.SetCustomMouseCursor(arrow);

    // Changes a specific shape of the cursor (here, the I-beam shape).
    Input.SetCustomMouseCursor(beam, Input.CursorShape.Ibeam);
}
注釈
Input.set_custom_mouse_cursor() を確認してください。
デモプロジェクト
さらなる詳細を知るには、このデモプロジェクトを調べてみてください: https://github.com/guilhermefelipecgs/custom_hardware_cursor
カーソルリスト
Input クラス(CursorShape 列挙型を参照)で文書化されているように、定義できるマウスカーソルは複数あります。どちらを使用するかは、ユースケースによって異なります。